auto_Matty
(This article is a work in progress)
 auto_Matty version 1 is devoid of input. It is condemned to wave at you forever. To liberate him from this curse, you will have to give it some input controls as explained in the second part.This project is a co-creation based on my daughter's paper puppet she brought back from daycare. The idea behind this project is to have a build that is easy to accomplish for kids and is meant as an introduction to electronics. It does not require having access to fancy equipment such as a 3D printer or that sort of thing. All the components that form the structure of the build are common materials you can find in an household.
The first version of the build will use the following electronic materials:
- The Raspberry pi pico. I recommend ordering the variant with pre-soldered headers It is not much more expansive and it will greatly lower the barrier of entry for this build. The raspberry pi pico comes with a micro usb cable which you will use to connect to your host machine for coding.
- A servo motor which will create the activation of the arm
- Jumper wires to connect raspberry pi with servo motor
- A breadboard for prototyping
Wiring and program
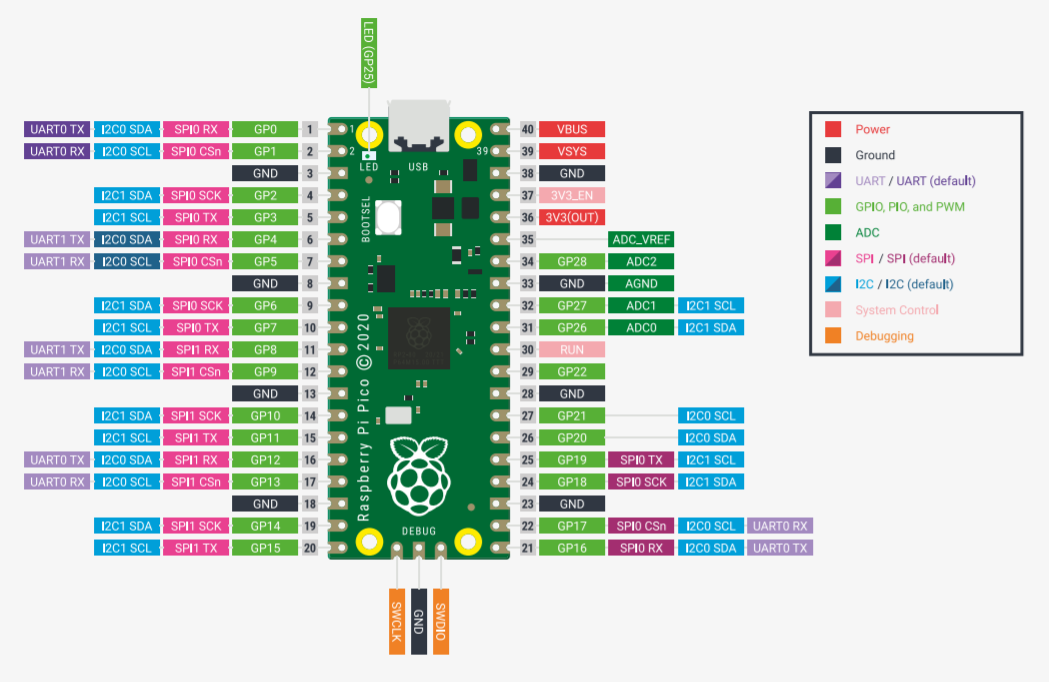 Before doing any wiring, it is important to get familiar with the basics of the GPIO. The most important part are the boxes annotated green starting with
 GP followed by a number. These represents the pin numbers we will use to interface with the pico in the software. A recommended read if you want to get further is this tutorialConnect your servo motor to the raspberry pi using the following configuration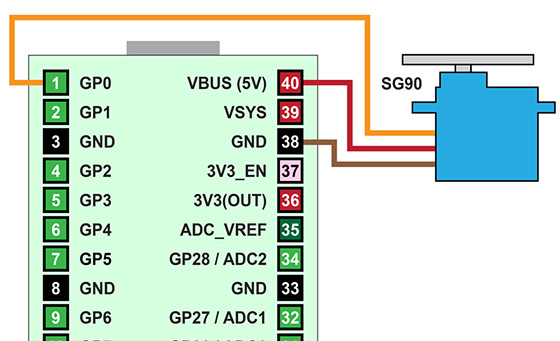
Connect your raspberry pi pico with the usb controller to your host machine and fire up Thonny python code editor. If this is the first time doing so, you will have to flash the bootrom with MicroPython. This procedure is described here
In the code editor, enter the following block of code and press "Run current script" button and select the Raspberry Pi Pico as a target
from machine import Pin, PWM, ADC
import utime
import math

servo = PWM(Pin(0))
servo.freq(50)
min_servo = 1500
max_servo = 3500
range_servo = max_servo - min_servo  # 2000
mean_servo = min_servo + (range_servo / 2)  # 2500

def control_servo():
  modifier = math.sin(utime.ticks_ms() / 100)  # between -1 and 1
  value = mean_servo + (modifier * (range_servo / 2))
  servo.duty_u16(int(value))

while True:
  control_servo()
  utime.sleep(0.001)
If everything works correctly you should have a servo motor moving continuously between 2 angles similar to the animation below: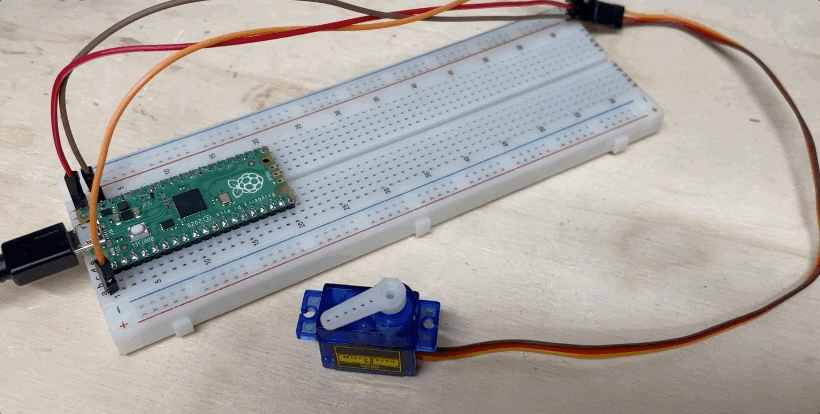
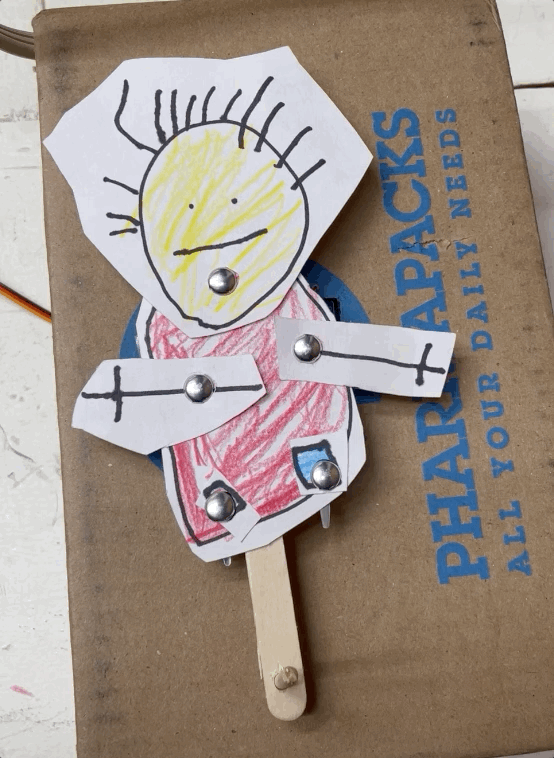
The puppet
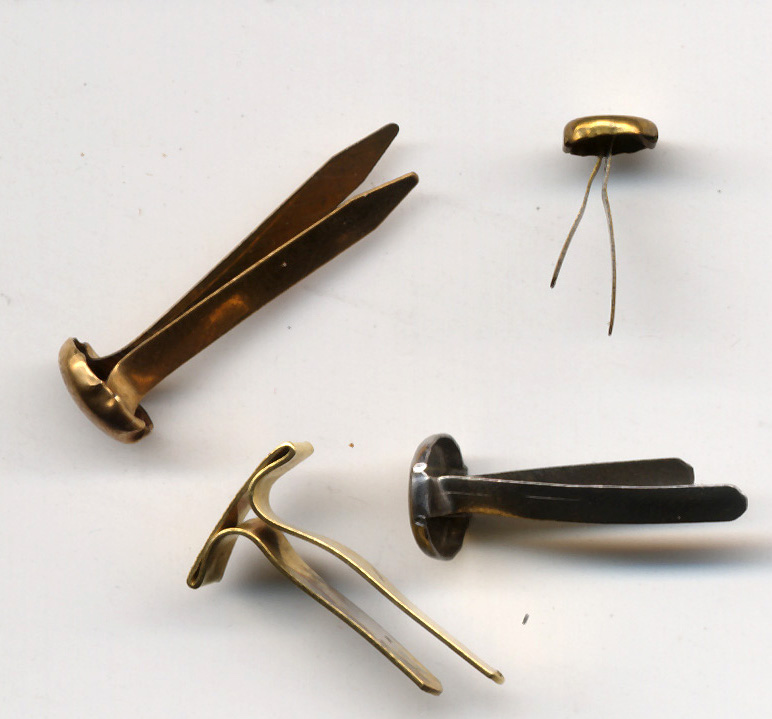 You can rip some out of a paper folder (duo tang) or obtain in bulk at your local office supply storeFor the puppet creation, anything made out of paper or cardboard should work. However, an essential piece for this build is to get some fasteners for the articulations of the arms, legs and head. (to be continued...)